Suddenly find yourself working from home?
Or you’re just looking to upgrade your current office setup?
Then follow on to see how we added a solid-wood topped, smart standing desk to our home office. Hint: It started at IKEA & ended with a little easy DIY.
We Wanted: A Standing Desk
- Sit/Stand
- Large enough for 2 people (occasionally)
- A look which suited our home. (light, bright & natural materials)
The Problem: COVID-19 Shopping
During the run on home office equipment, finding any desk was no mean feat, let alone finding a specific type of desk.
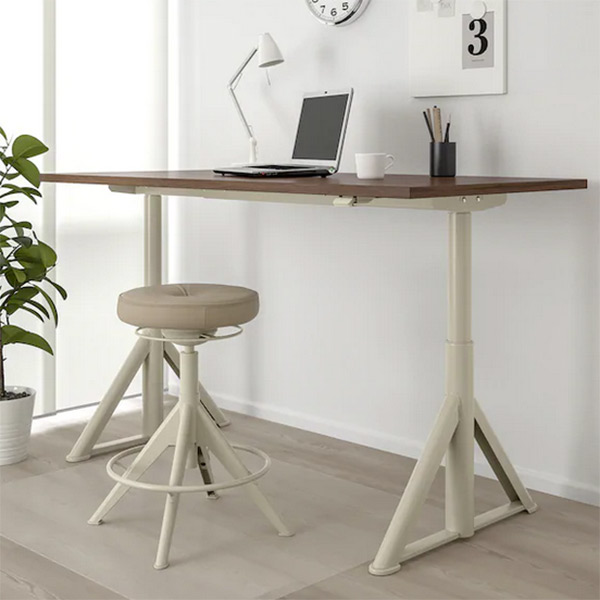
We’d had our eyes on two standing desks from IKEA the BEKANT & the IDASEN. After a little research, we settled on the IDASEN, due to reports that the BEKANT was unstable in the standing position.
When we arrived at IKEA, as expected, the home office supplies were pillaged…it looked like the toilet paper aisle in our local supermarket. The displays, the stock numbers & the staff all said “There’s nothing left”.
We decided to check a couple of the stock aisles at IKEA, in case we got lucky. And…we did, well at least in part.
We noticed that there were a lot of IDASEN smart office desk bases. The shortage was in the desktops. As the IDASEN desktops can be used with a number of different bases, this led to them running out first, prior to the standing desk base.
The Solution: Custom Smart Office Desk
My wife had spotted another desktop on the shelves which she liked, GERTON (which, now appears to have been discontinued by IKEA). Other similar-looking options are: ANFALLARE & LAGKAPTEN
It was approximately the same length & was made of solid wood. This was both a pro & a con. A con that it was heavier, but a pro because it meant that attaching this top to the IDASEN base shouldn’t be too much of an issue. Once I figured out how to carry it to my car that was….
How to Make Your Own Custom Sit/Stand Smart Office Desk.
What you’ll Need:
- Desk Top: IKEA GERTON (which, now appears to have been discontinued by IKEA).
- Desk Base: IKEA IDASEN
- 8 x Wood Screws: 20mm Long
- 8 x Washers: Approx. 10mm wider than the head of your screws
- A drill & a drill bit – one narrower than your screws
- Cable management (option, but recommended)
- I used 4 conduit saddles They worked well.
What you’ll get: (What makes it smart?)
- Electric Sit/Stand Function with a timeless solid wood top.
- A smart app to control it all. The app can:
- Control the height of the desk (it works, but it’s faster to use the physical button)
- To set default heights. Very useful to save your & other’s ideal sit & stand heights.
- Track you sit & stand time & set goals to beat each day.
Step 1 – Unbox & Build the IDASEN Base
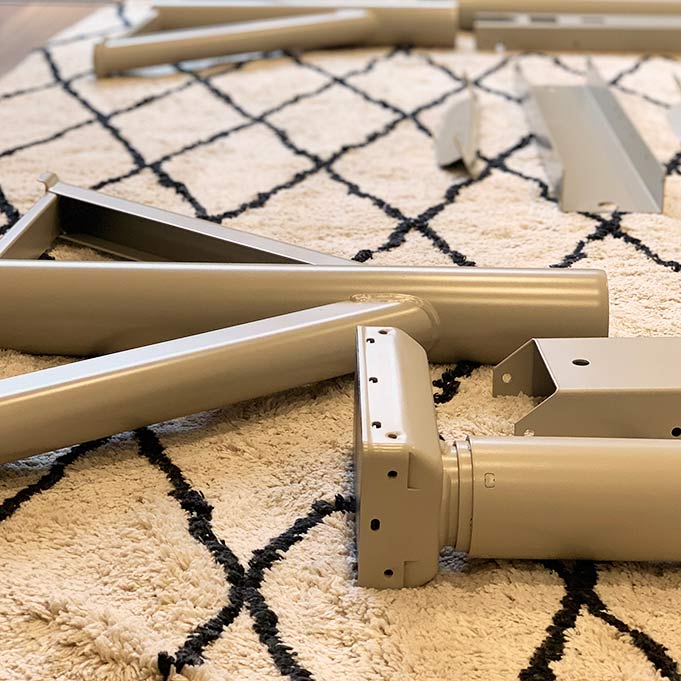
Follow the IKEA provided instructions for the base.
Step 2 – Align the Base with the Top
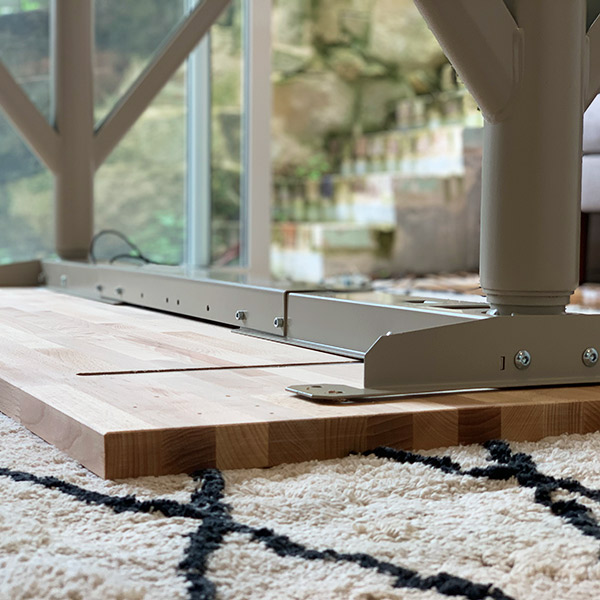
Unbox the top & place it upside down on a soft surface. Then place the base upside down on top of the tabletop. Use a tape measure to ensure the base is centred over the top. Tip: Use a pencil to make the right spot.
Step 3 – Drill Pilot Holes & Screw Top
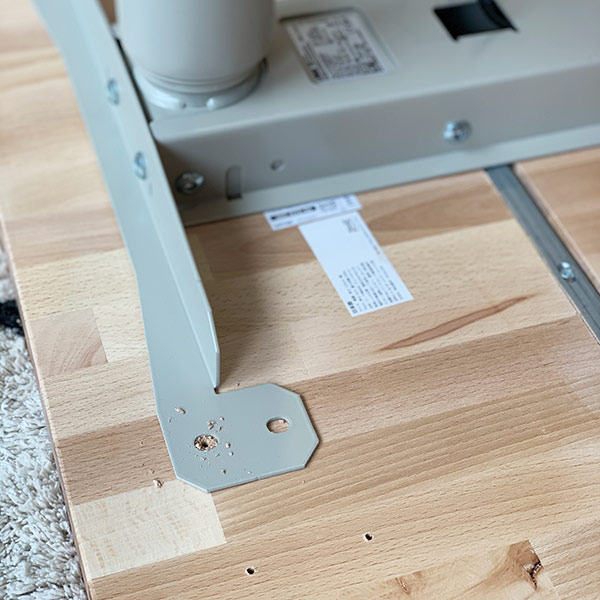
The pre-drilled holes in the GERTON top do not match the IDASEN base so we need to drill out own. Using a narrow drill bit, & the holes in the IDASEN top as a guide, drill a pilot hole into the top of the desk.
NB: Be careful NOT to go all the way through.
After you’ve drilled the pilot holes. Place a washer onto your screw & screw them into the pilot hole you’ve just drilled. Repeat 8 times.
Step 4 – Attach The Height-adjustment Switch
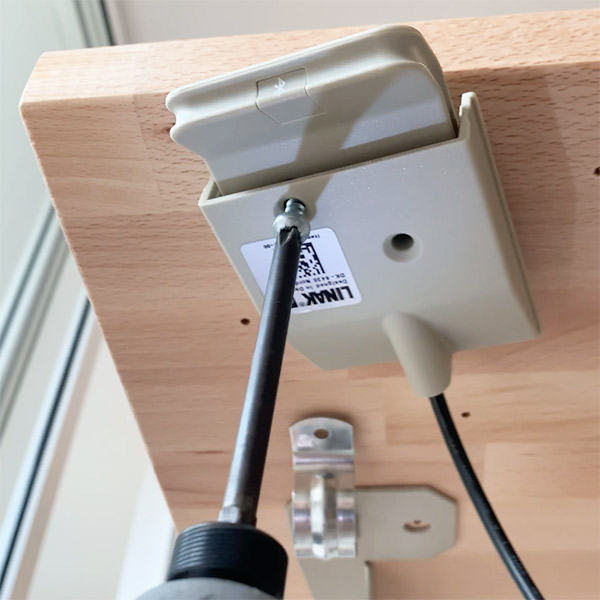
Flip your desk over, right side up. It’s probably best to get help with this. The sit/stand base & the solid wood top make this desk heavy.
Now choose a spot for the height-adjustment switch. The cable is long enough to reach both sides & ends. Which you choose is up to you & your setup. As with the previous screws, drill two pilot holes & then screw the switch to the underside of your desk.
Step 5 – Cable Management (optional)
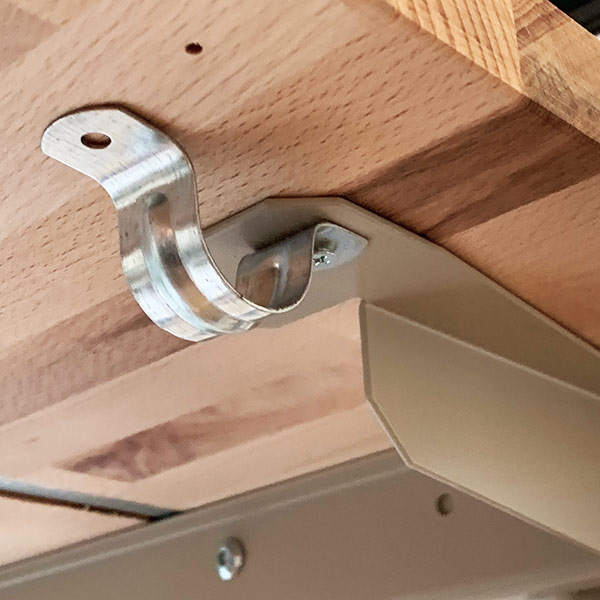
This step is optional, but adding some kind of cable management is recommended. I had these conduit saddles on hand so I used them, but many things could do the job – from a proper cable rack to some cable ties.
If you’re going with this option you’ll see that I only screwed in one side & left the other one open, which makes it each to thread cables into place.
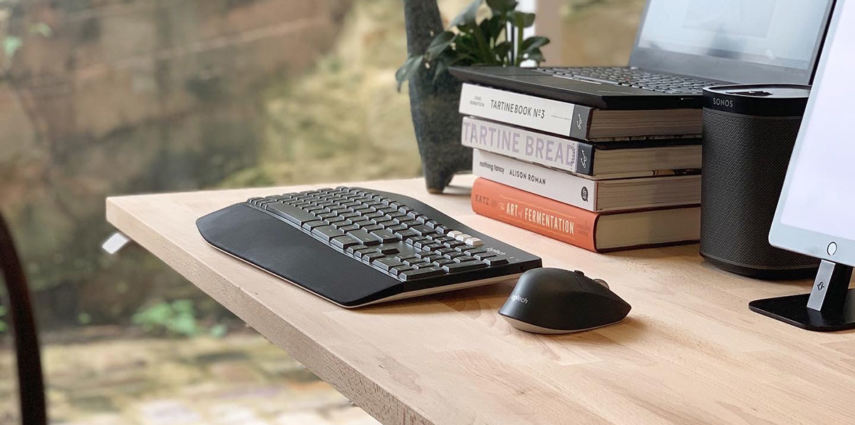
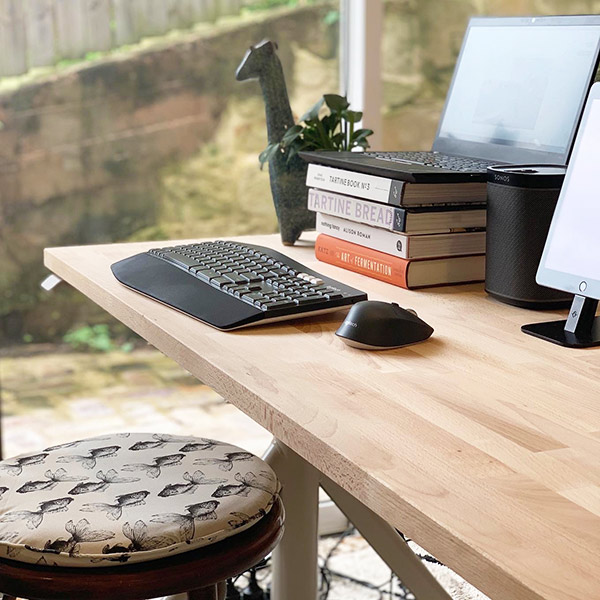
A Custom Smart Standing Desk
There you have it, your own customised smart standing desk. Why stop there though? Fill your office with smart tech.
- Take control of the lighting in your home office with Smart Lighting:
- Hone your focus with Smart Audio.
- Make it comfortable with smart air conditioner control
If you’ve got any questions on smart home or smart office tech, then leave me a question. For more on smart tech, take a look through my other smart home posts.